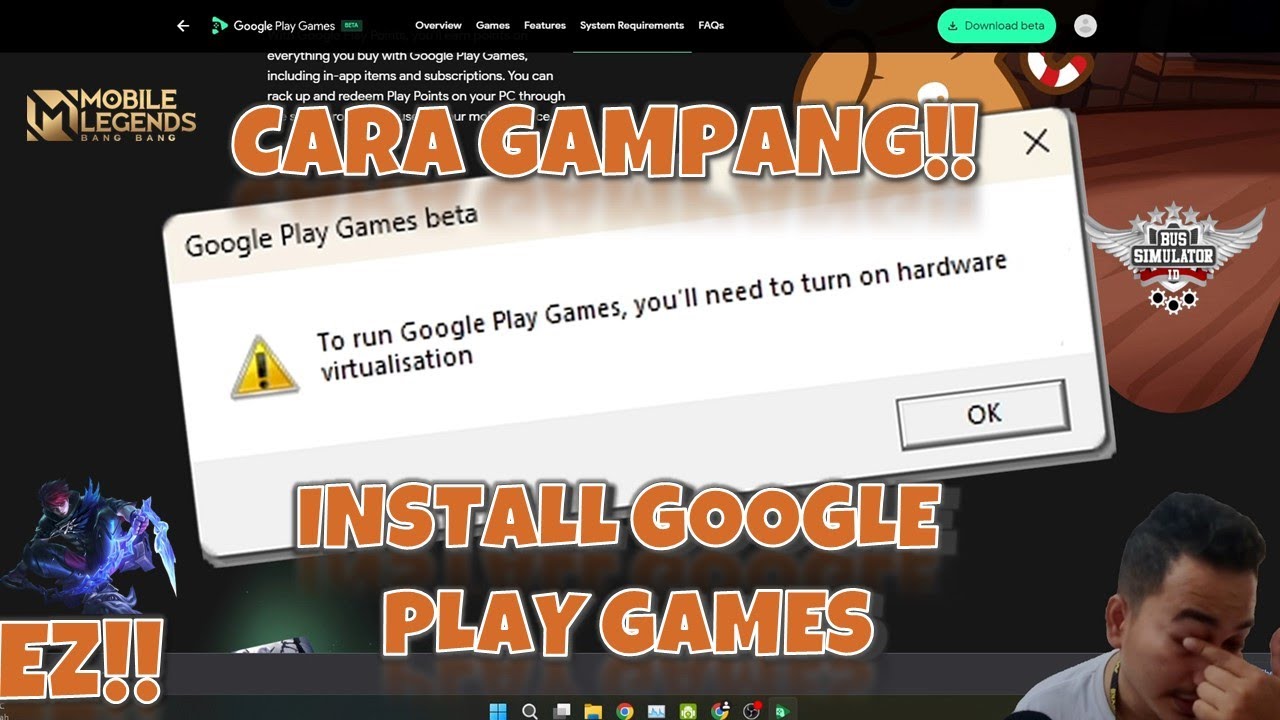
to run google play games hardware virtualization
Well, if ya wanna play them Android games on your computer, then listen up, ‘cause I’m gonna tell ya how to turn on that hardware virtualization thingy for Google Play Games. Don’t worry, it ain’t too hard, just gotta do a few little tweaks to make it all work. Now, let me tell ya a bit about this virtualization thing, ’cause I reckon some of ya might not know what it is.
First thing’s first, hardware virtualization is what makes your PC act like an Android device. Without it, your computer can’t properly run them Android games. So if ya wanna play them Google Play Games on your Windows PC, ya gotta make sure virtualization is turned on. It ain’t too complicated, and I’ll walk ya through it step by step. Just make sure your computer meets the basic requirements, ‘cause you’ll need a few things to get it working right.
What do you need to run Google Play Games?
- Ya need a PC with at least 4 physical CPU cores (some games need an Intel CPU, mind ya).
- 8GB of RAM. Now, if you don’t got that, well, don’t expect much luck running them games smoothly.
- You also gotta have a Windows admin account – that means ya gotta be the boss of the computer, so to speak.
- Most importantly, that hardware virtualization must be turned on. Without it, nothing’s gonna work, no matter what ya do.
Now, some of ya might be thinkin’, “Why do I need this virtualization thing anyway?” Well, let me tell ya. It’s the magic that lets your computer act like a phone, just like them Android emulators do. It don’t really affect the games much, but it helps run ‘em smoother. And it also makes your computer more secure, so that’s a bonus! Ya might not notice it, but it does keep your system safer from them nasty viruses and all that techy stuff.
How to Turn on Hardware Virtualization?
Okay, so now that we know why it’s important, let’s get down to the nitty-gritty of turning this thing on. Don’t worry, it ain’t that hard if ya follow these steps:
- First, restart your computer. Ya need to get into your computer’s BIOS settings, which is usually done by pressing a key when the computer first starts. It’s usually F2, F10, or sometimes the Delete key. Just pay attention when it’s starting up, and it’ll tell ya what to press.
- Once ya in the BIOS, look for the “Advanced” tab or something similar. Now, ya might have to search around a bit – every computer’s BIOS is a little different. But what you’re looking for is something that says “Intel VT” or “AMD-V.” This is your virtualization setting.
- If it says Disabled, well, ya need to enable it. Just use the arrow keys to highlight the setting, and change it to Enabled. Easy peasy.
- Then, save the changes and exit the BIOS. Your computer will reboot, and you’ll be all set with hardware virtualization turned on.
Why Turn on Hardware Virtualization?
Now, you might be askin’, “Why should I bother with all this?” Well, like I said, if ya want to run them Android games through Google Play Games on your Windows PC, you need to enable virtualization. Without it, ya’ll run into all kinds of problems. Some games might not run at all, or they might be slow and buggy. And if you’re trying to run more than one game at once, forget about it! Your PC’s gonna be about as useful as a screen door on a submarine.
Other Things You Should Know
Now, here’s a little thing that might help ya. When you turn on hardware virtualization, it can sometimes cause a few compatibility issues. You see, this thing don’t always play nice with some older apps. If that happens, just turn off virtualization again and see if that helps. Sometimes you gotta fiddle with things a bit, but most of the time, once it’s on, everything will work just fine.
Also, if you’ve got an older PC or one that don’t support virtualization, well, you might be out of luck. But don’t worry, there are still ways to play Android games on your PC using other emulators. They ain’t as good, but they’ll do the job.
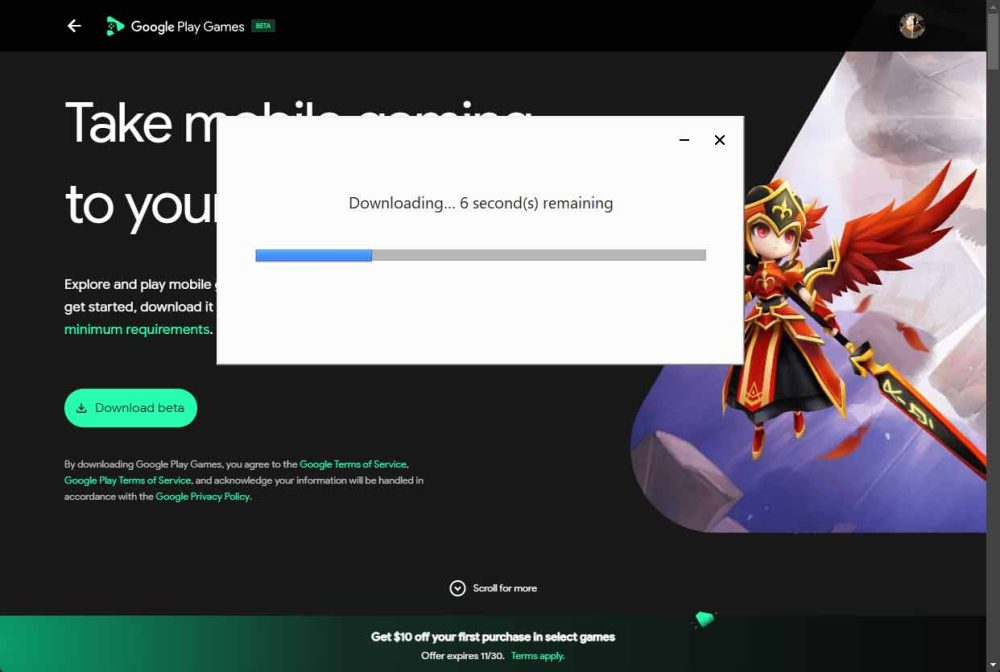
What’s the Deal with Google Play Games on PC?
Now, a lot of folks wonder why they should bother with Google Play Games on PC instead of just using an emulator. Well, here’s the thing: With Google Play Games Beta on your PC, it runs better than any of them old-fashioned Android emulators. Google’s got all kinds of fancy tech to make the games run smoother and look better. Plus, you can play right through the official app, so you’re not fooling around with random third-party software that might mess up your computer.
So, if you’re tired of playing on your little phone screen and want to enjoy those Android games on your big ol’ PC, then turning on hardware virtualization is your first step. Get that done, and you’ll be playing in no time!
Conclusion
There you go, that’s the whole rundown on how to turn on hardware virtualization for Google Play Games. Just remember, make sure your PC’s got the right specs, get into the BIOS, and enable that virtualization. Once you’ve done that, you’ll be all set to play them mobile games on your computer just like a pro. Good luck, and happy gaming!
Tags:[Google Play Games, Hardware Virtualization, Windows PC, Android Emulators, Gaming on PC, Google Play, Virtualization for Gaming]