genshin impact acrylic stands
Okay, so I’ve been wanting to make some Genshin Impact acrylic stands for a while now, and I finally decided to give it a shot. I’m no professional crafter, but I figured, how hard could it be, right?
Getting Started
First things first, I needed to gather my supplies. Here’s what I ended up using:
- Acrylic sheets: I got some clear ones from a local craft store. They weren’t too thick, maybe 2-3mm.
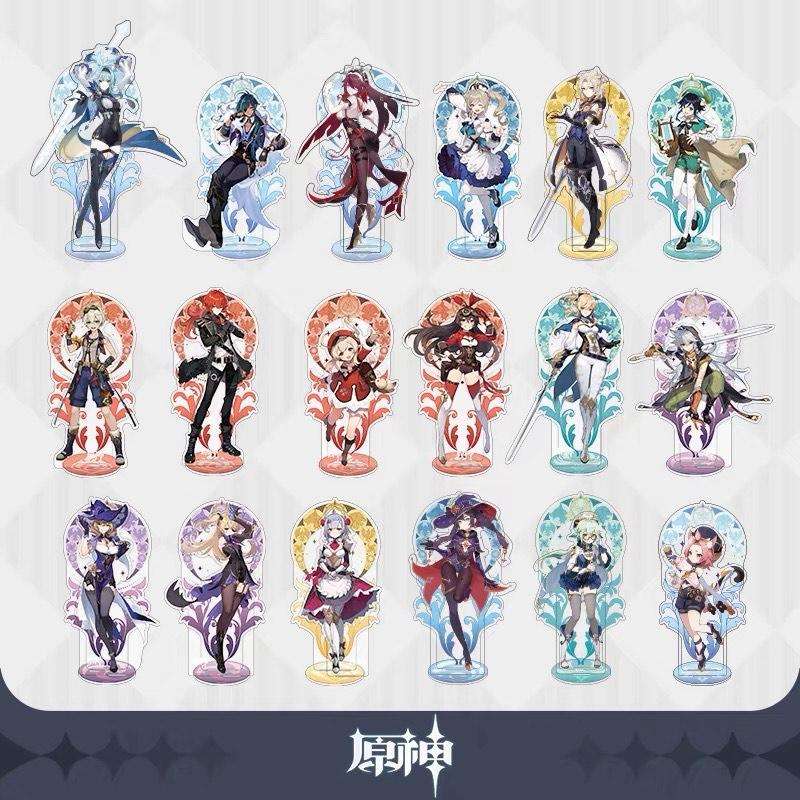
- Printed images: I found some nice, high-resolution images of my favorite Genshin characters online and printed them out on regular paper. Make sure they fit well.
- Scissors and a craft knife: For cutting out the images and the acrylic.
- Adhesive: I used some clear, double-sided tape. I thought about using glue, but I was worried about it getting messy.
- Acrylic stand bases: You can buy these separately, or you can get creative and make your own. I just bought some simple, clear ones.
The Process
Alright, so here’s how I went about it. First, I cut out the character images from the paper. I tried to be as precise as possible, but honestly, my hands were a little shaky. It’s harder than it looks!
Next, I placed the paper cutouts on the acrylic sheet and traced around them with a marker. This gave me a guide for cutting the acrylic.
Now for the scary part: cutting the acrylic. I used a craft knife for this, and let me tell you, it took some effort. I definitely recommend using a ruler or something as a guide to keep your cuts straight. I may have messed up a couple of times and had to re-cut some pieces. Oops!
Once I had the acrylic shapes cut out, I peeled off the protective film from both sides of the acrylic. This was surprisingly satisfying.
Then, I stuck the double-sided tape to the back of the paper cutouts and carefully placed them onto the acrylic shapes. I made sure to press down firmly to get a good bond.
Finally, I attached the acrylic shapes to the stand bases. The bases I bought had little slots, so I just slid the acrylic pieces in.
The Result
And… done! They actually turned out pretty good, if I do say so myself. Sure, they’re not perfect, and there are a few rough edges here and there, but overall, I’m happy with them. They look great on my desk, and it’s cool to have some custom-made merch of my favorite characters.
It needs some practices, I will try to use some tools to polish the edge next time, to make it smoother!