turn on hardware virtualization google play games
Well now, if you’re one of them folks who like playin’ games on the PC, but wantin’ to play them mobile games from Google Play, you might be wonderin’ about this thing they call “hardware virtualization.” Don’t worry, it ain’t too complicated once ya get the hang of it. Lemme tell ya how to turn it on and get yourself goin’ with Google Play Games on your Windows machine.
First things first, ya gotta make sure your computer is up to snuff. Now, I ain’t talkin’ ’bout fancy stuff like high-tech gaming rigs. But there are some things your machine’s gotta have. You need at least 4 CPU cores. Some games, they might need an Intel CPU too, but most things will work just fine with a regular one. And don’t forget that memory—your computer should have at least 8 GB of RAM to run things smoothly. I know, sounds like a lot, but that’s just how these newfangled programs work these days.
Once you know your computer is ready, the next thing to do is find your BIOS settings. Now, this part’s a little tricky, but stick with me. You can get there by goin’ into your Windows settings. Open the Settings app, click on Update & Security, then click Recovery, and you’ll see an option called Advanced Startup. Hit that, and then click on Restart Now.
After your computer restarts, you’ll be able to get into them BIOS settings. It’s in there where you gotta look for the option to turn on hardware virtualization. This is what lets your computer run them Android games on your PC, like they’re just any old app. Some folks might have it turned off by default, and that’s just ‘cause sometimes it can mess with other programs. But don’t worry, just turn it on, and if you run into any problems, you can always turn it off again.
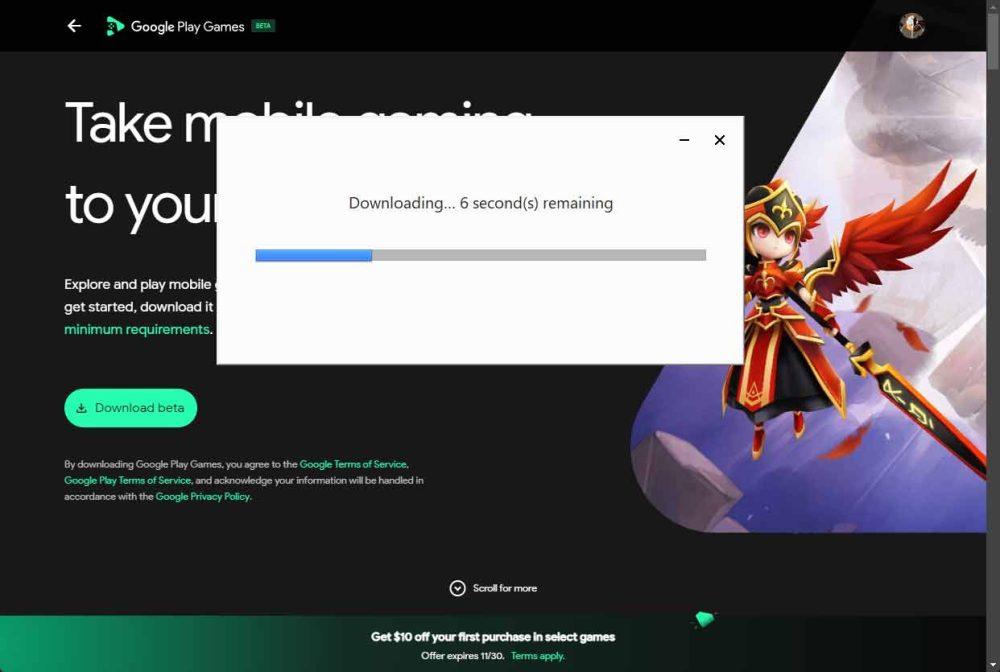
Now, if you’re real serious about your games, you might want to make sure Google Play Games is all set up right on your PC. It’s in beta, so it might not be perfect just yet, but it works pretty darn good for playin’ Android games right on your Windows machine. Once you’ve got virtualization turned on, it’s just a matter of downloading the Google Play Games app and gettin’ it installed. Once that’s done, you’ll be able to browse through a whole bunch of mobile games, just like you would on your phone!
And here’s the best part: with hardware virtualization, you ain’t gotta worry ‘bout all them slowdowns and lags that come with regular Android emulators. Them other emulators might be free, but they ain’t as quick or smooth as when you’ve got virtualization enabled. Google Play Games on PC lets you run them games like they’re just another program, without all the fuss.
If you do run into any trouble, like your games not loadin’ or some weird thing happenin’, it might be ’cause of them compatibility issues I mentioned before. But most of the time, once you turn on hardware virtualization, everything should run just fine. If you’re still having problems, you can always go back to the BIOS and try a few different settings.
So, there you have it. Getting them Android games runnin’ on your PC is easier than it sounds. Just make sure you’ve got the right hardware, turn on virtualization in the BIOS, and download the Google Play Games app. Then, sit back and enjoy your games on a bigger screen with all the power of your computer behind it.
Tags:[hardware virtualization, Google Play Games, Windows PC, Android games, BIOS settings, virtualization, gaming setup, PC gaming]