roblox fanart
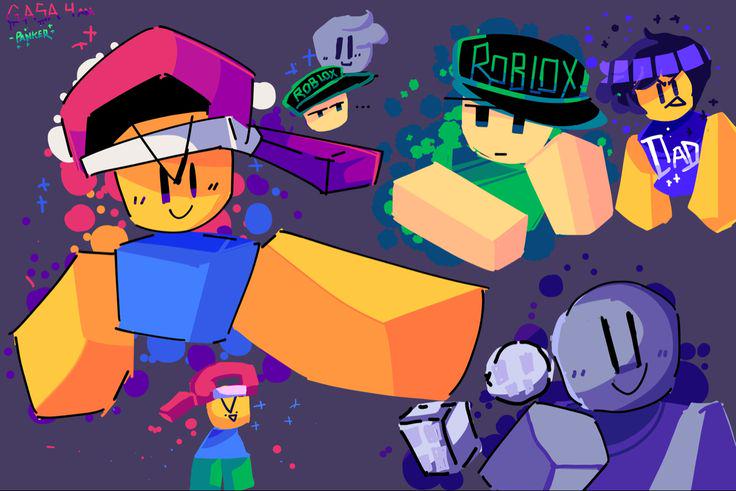
Okay, so I’ve been diving into the world of Roblox fanart lately, and let me tell you, it’s been a wild ride! I wanted to share my process, from start to finish, because it was a lot of trial and error, but I finally got something I’m pretty happy with.
Getting Started
>
First things first, I needed to figure out what I wanted to draw. I spent a good chunk of time just browsing Roblox, playing different games, and looking at other people’s fanart for inspiration. I was all over the place, honestly. I finally saw a character in one game with this super cool, detailed outfit and it got my creativity sparked. So, I knew I wanted to draw a character, but not just any character – a really decked-out one.
The Sketching Struggle
>
Next up: sketching. This is where things got a little messy. My first few attempts? Let’s just say they weren’t exactly museum-worthy. I started by trying to draw directly from memory, which was a HUGE mistake. The proportions were all wrong, the details were fuzzy…it was a disaster.
I realized I needed references. Big time. So, I took a bunch of screenshots in Roblox of the character I liked, making sure to get different angles. I also looked up some basic pose references online, because I am by no means a pose master. I used these to guide my sketch, and it helped so much. It also makes the whole drawing proccess much easier.
I kept sketching, erasing, and re-sketching until I had a basic outline I was okay with. It wasn’t perfect, but it was a good starting point.
Lineart and Details
>
Once I had a decent sketch, I moved on to lineart. This is where I cleaned up all the messy sketch lines and defined the shapes. I used a slightly thicker line for the main outlines and a thinner line for the details, like the folds in the clothes and the accessories.
- Patience is key here. I rushed this part at first, and it showed. My lines were wobbly and uneven. I had to force myself to slow down and take my time.
- I also experimented with different line weights to see what looked best. This is all about your preference, but it can make a big difference in the final result.
Coloring Chaos
>
Coloring… oh boy. This is where I usually get overwhelmed. I started by picking a basic color palette based on the character’s in-game appearance. I used a color picker tool to pull colors. But then I wanted to add some shading and highlights to make it look more… alive, I guess.
This is where I watched a bunch of tutorials. Seriously, YouTube is a lifesaver. I learned about different shading techniques, like cell shading and soft shading, and tried to apply them to my drawing. It took a lot of practice and experimenting, but I eventually got the hang of it. I picked a cell shading style, as I wasn’t as good with soft shading.
Finishing Touches
>
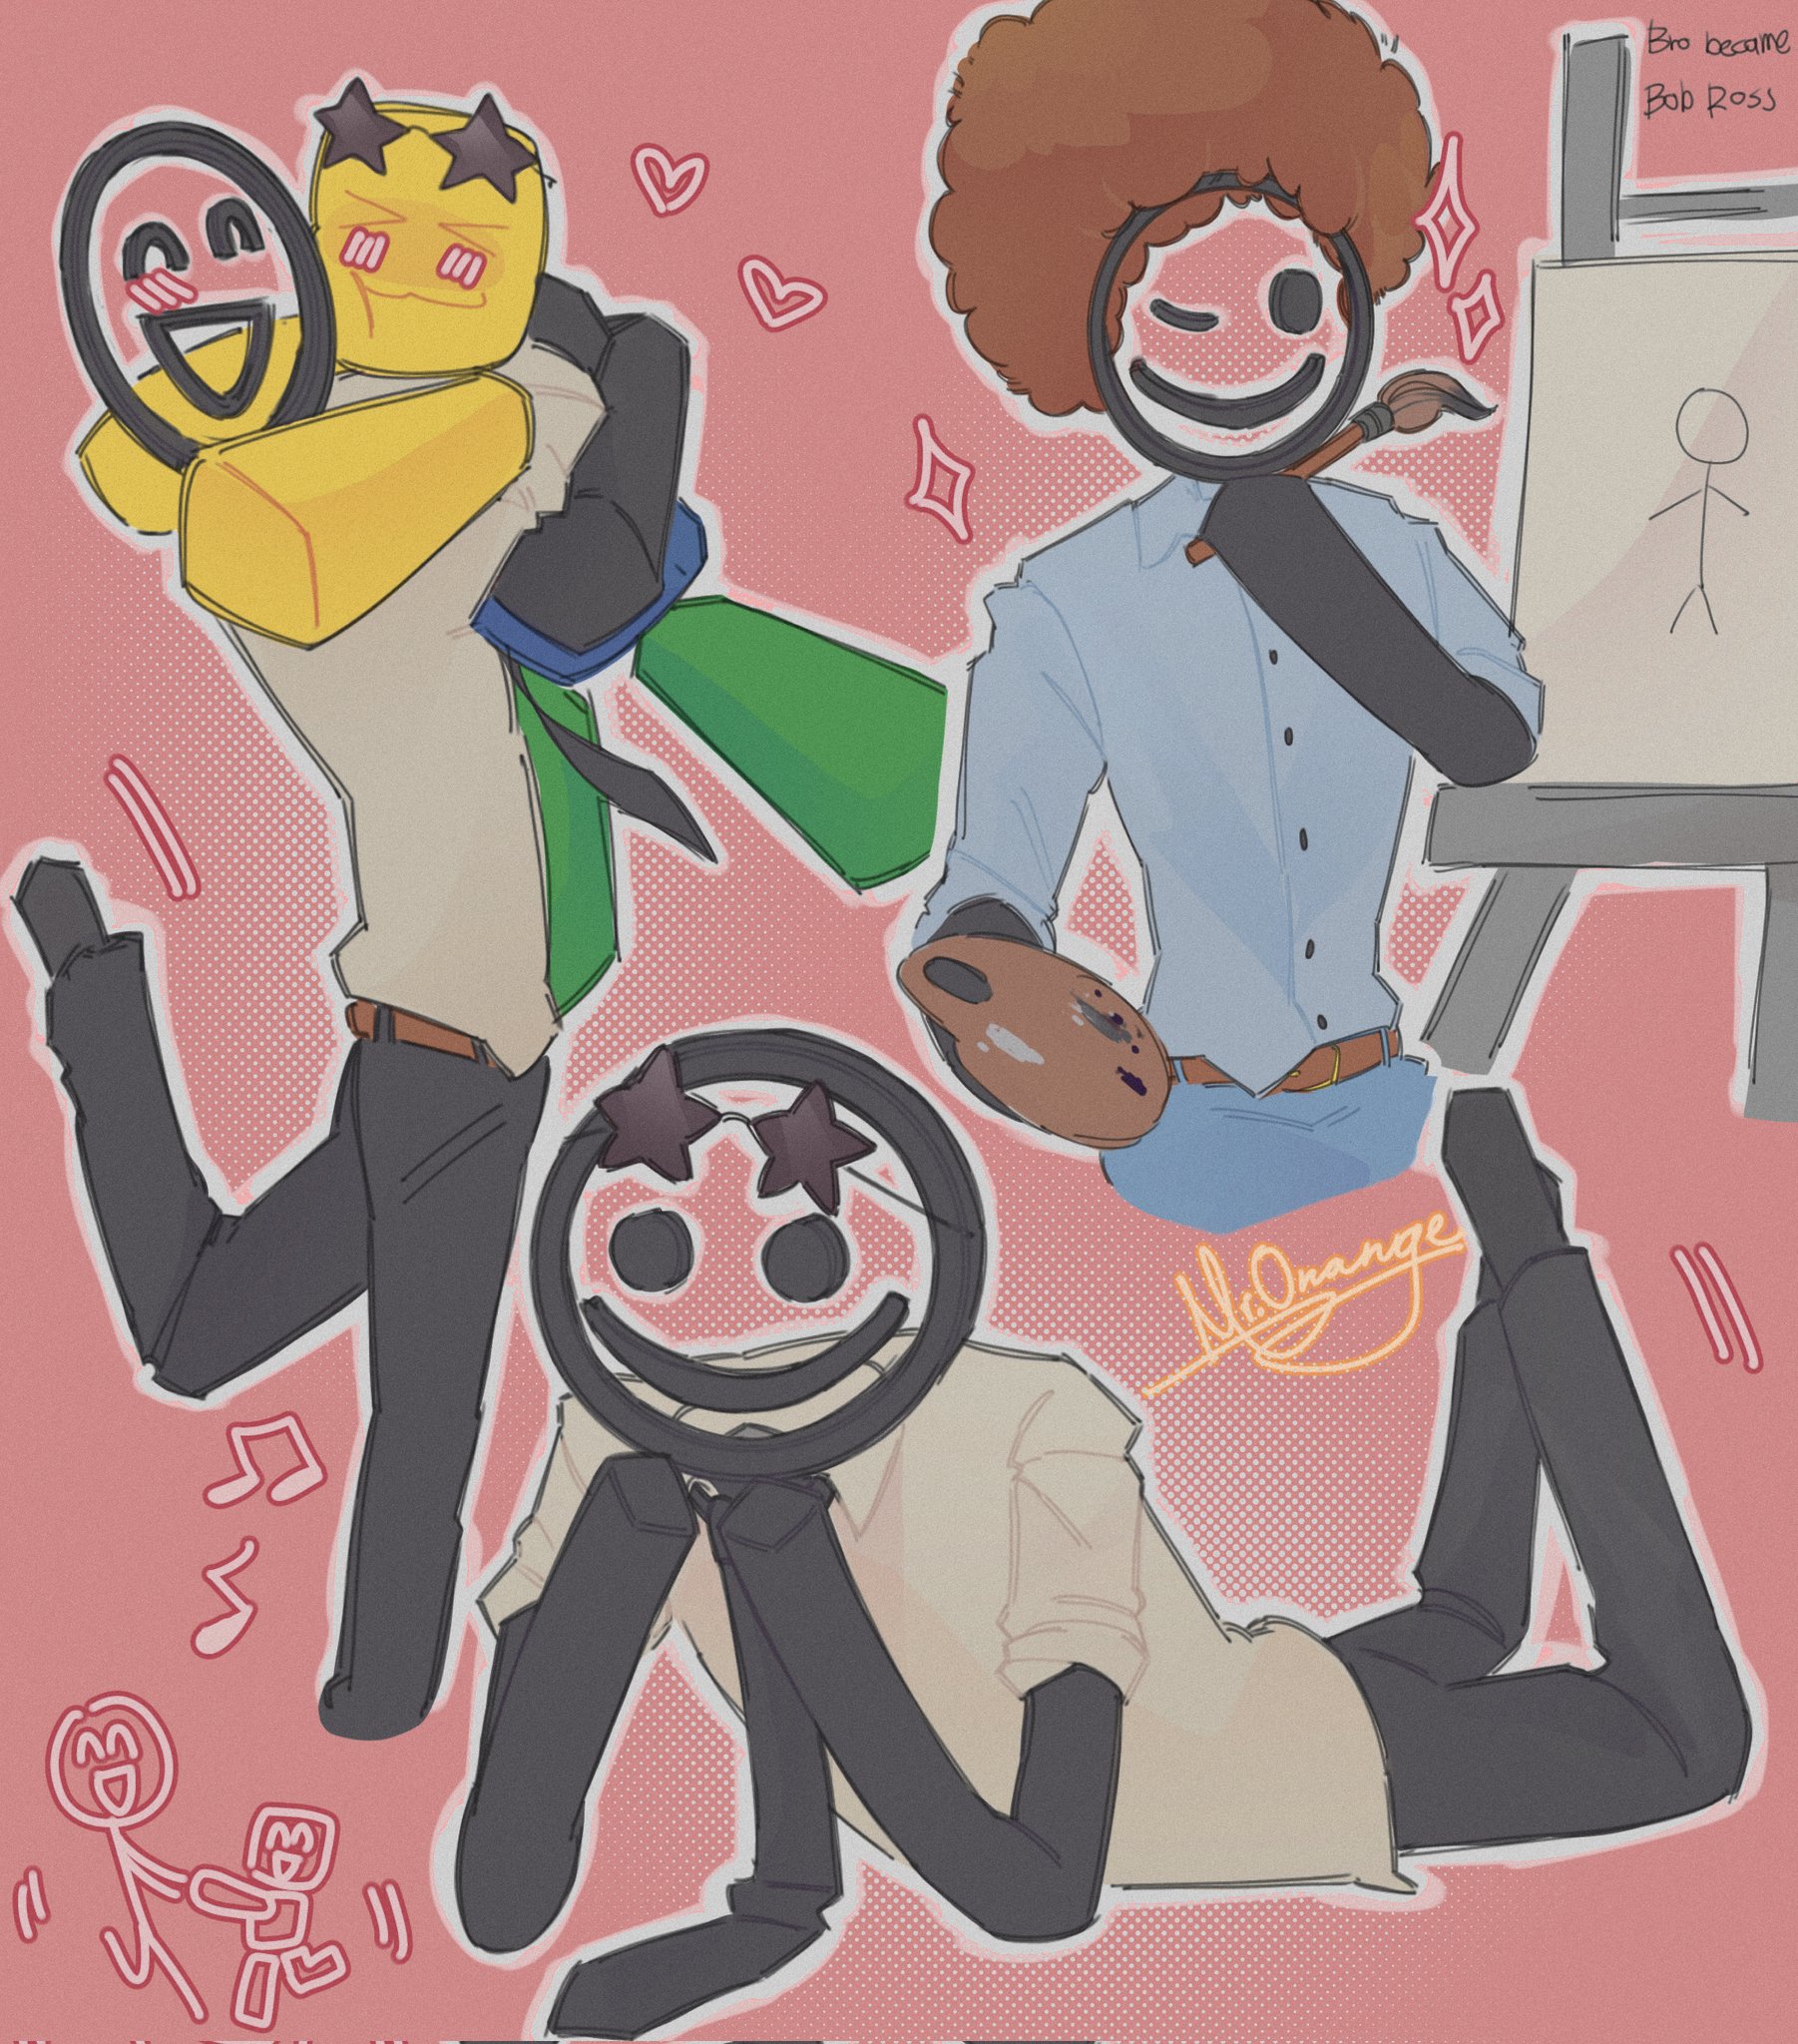
After I was happy with the coloring and shading, I added some final touches. I cleaned up any stray lines, added a simple background, and maybe a bit of extra glow, or detail. And that was it!
It was a long process, with lots of bumps along the way, but I’m really proud of the result. I’m still learning, but this whole experience taught me a lot about digital art and the Roblox community. It’s awesome to see all the creativity out there!