game boy advance home hardware clone
Okay, so, let me tell you about this little project I got myself into. I’ve always been a bit of a retro game nerd, and the Game Boy Advance? That’s like my all-time favorite handheld. So, I decided, why not try to build my own? Not from scratch, mind you, but a clone using existing hardware.
First, I had to do some digging. I found out about the existence of all these Game Boy Advance emulators, like Visual Boy Advance. But, I wanted the real deal, a physical thing I could hold in my hands. So, I started looking into hardware clones. These are basically devices that use modern parts to replicate the original Game Boy hardware, letting you play the actual game cartridges. I found this whole community online of people making their own games for these old systems, which I think it is pretty cool. They call it “homebrew,” and there’s a ton of it out there.
The Research Phase
I spent days just reading through forums, watching videos, and basically soaking up any information I could find. I was like a sponge! I learned about the different types of Game Boy models, like the Original Game Boy, the Game Boy Color, and the Game Boy Advance SP. I even found some repair guides. There is a lot of stuff out there on how to fix those old consoles.
Gathering the Materials
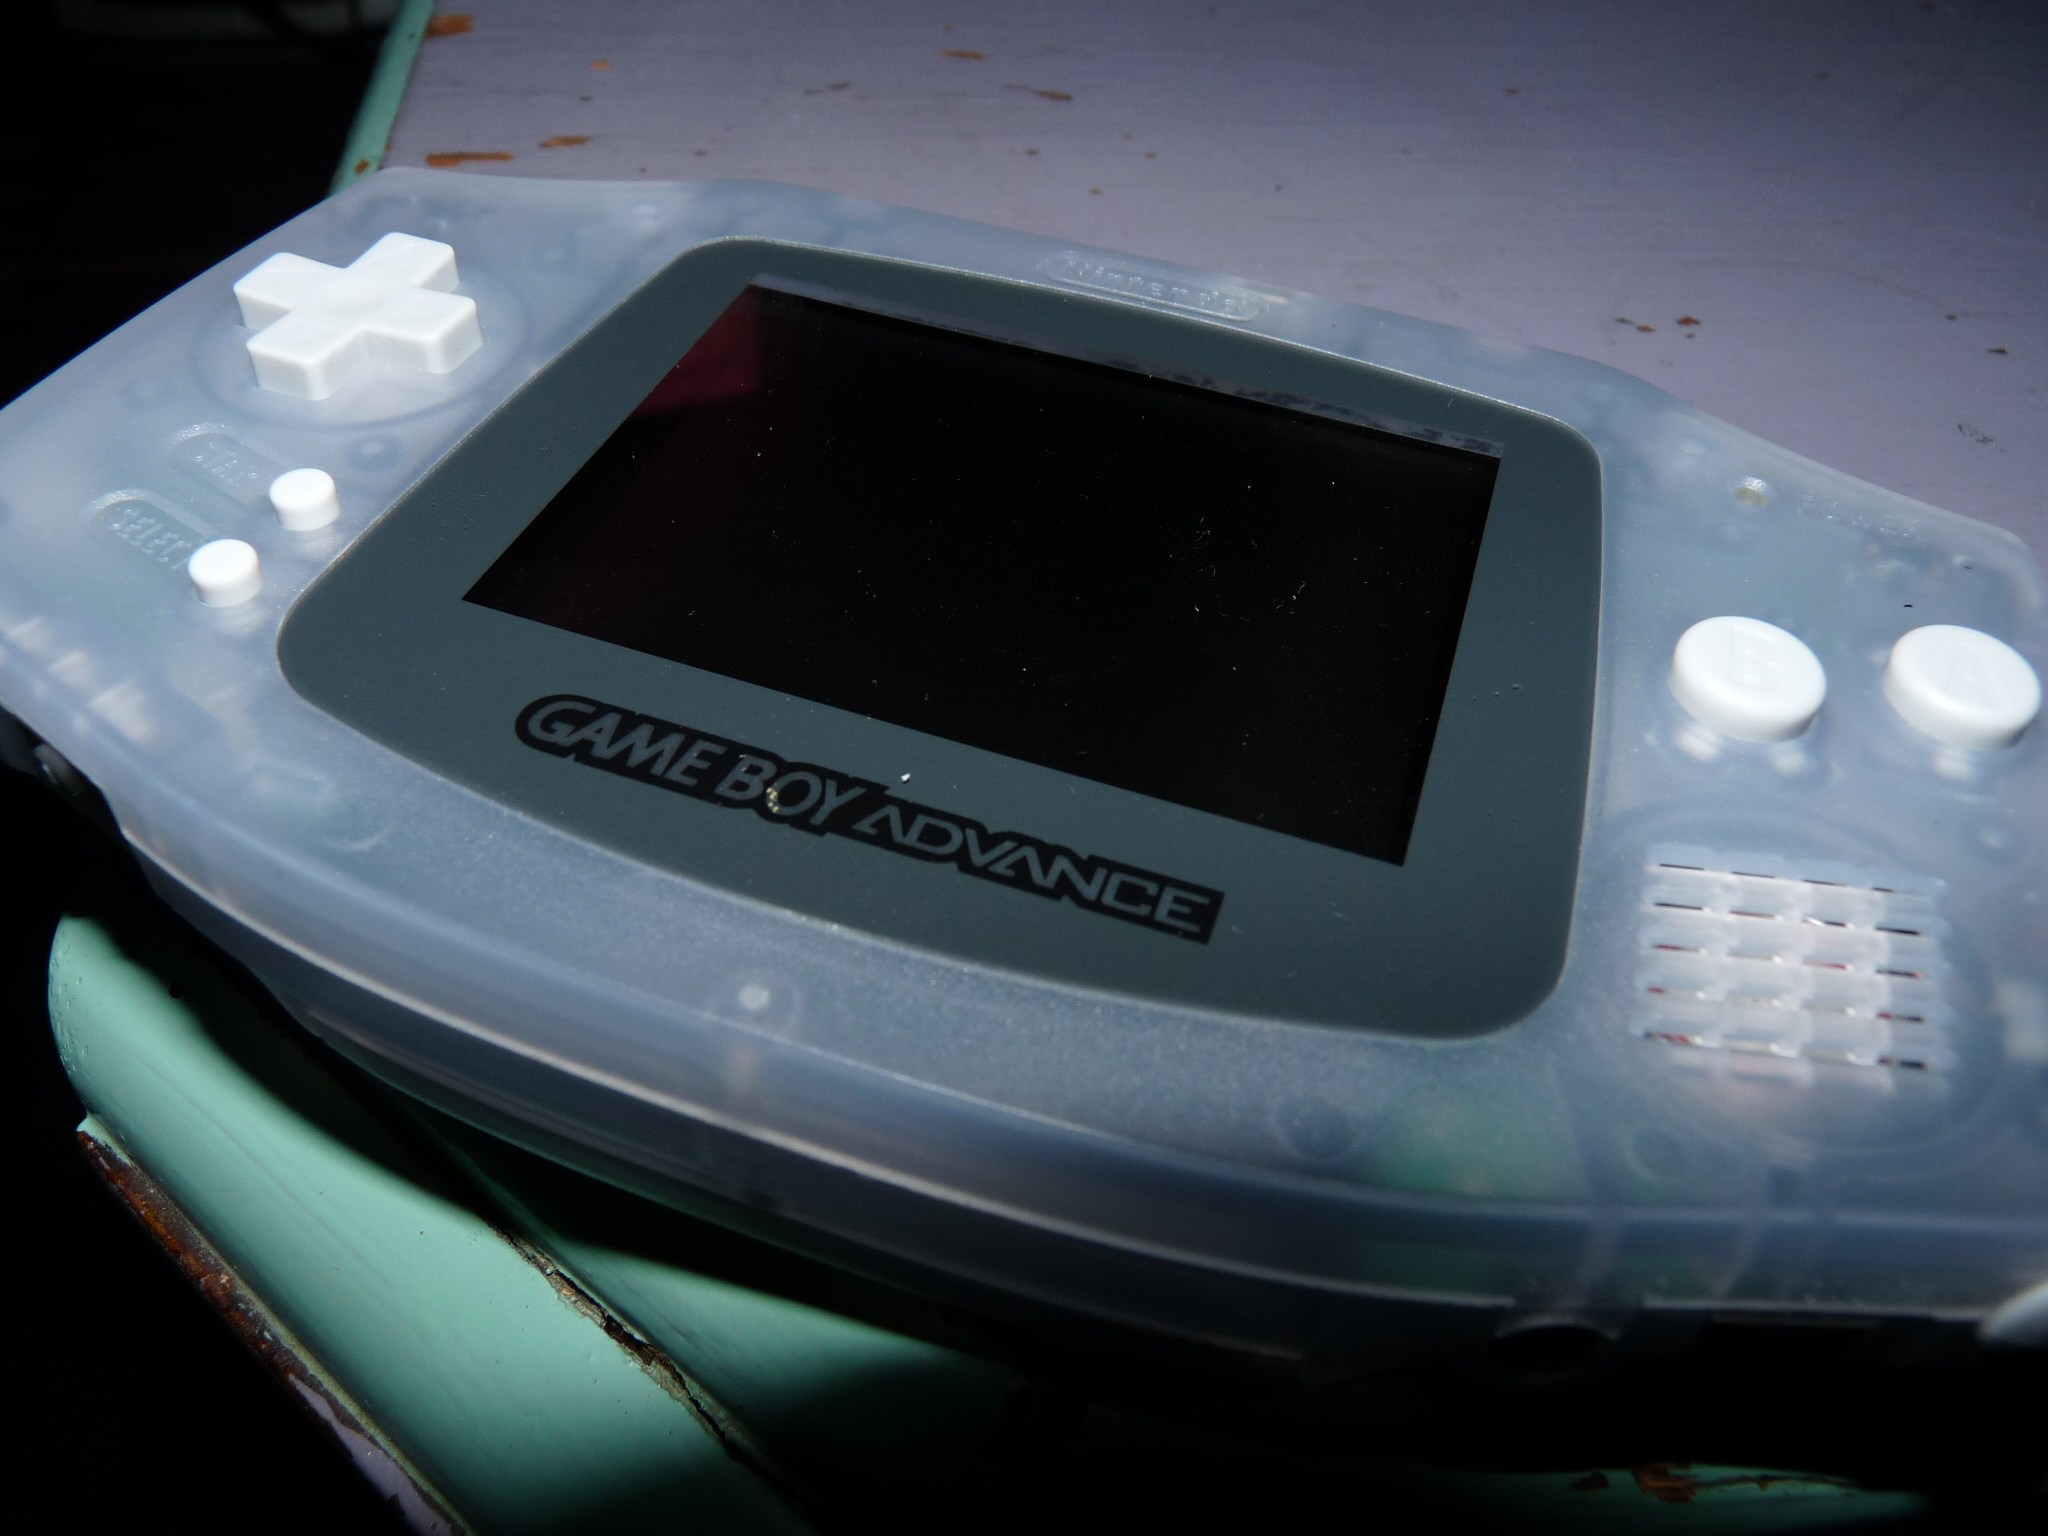
Next up was getting my hands on the actual hardware. I managed to find a cheap, used Game Boy Advance online. I also ordered a flash cartridge, which is basically a special cartridge that lets you load multiple games onto it. I didn’t want to have to carry around a bunch of game cartridges, you know? I also needed a few other things, like a screwdriver set and some soldering tools.
The Build
This is where things got interesting. I carefully took apart the Game Boy Advance, following the instructions I found online. Then, I started putting together my own board, based on the schematics I had researched. It was a lot of trial and error, let me tell you. I messed up a few times, had to redo some connections, but I was determined to get it right.
Testing
Finally, the moment of truth. I loaded up a game on the flash cartridge, plugged it into my newly assembled board, and powered it on. And guess what? It worked! I was so excited, I couldn’t believe I actually managed to pull it off. Seeing the game boot up on that little screen, it was like a dream come true. I played for hours, just testing it out, making sure everything was working as it should.
The Outcome
In the end, I had my very own, working Game Boy Advance hardware clone. It was a bit rough around the edges, sure, but it was mine. And I had built it myself. This whole experience was just amazing. I learned so much about electronics, soldering, and the inner workings of my favorite handheld console. Plus, I got to play all those classic games again, which was the whole point, right?
If you’re into retro games and you’re looking for a fun and challenging project, I highly recommend trying to build your own hardware clone. It’s a great way to learn new skills and to appreciate the technology behind those old games we all love. Just be prepared to put in some time and effort, and don’t be afraid to make mistakes. It’s all part of the process!