epic games launcher how to disable hardware acceleration
Okay, so, I’ve been messing around with my computer settings again. This time, I was trying to figure out how to disable hardware acceleration on the Epic Games Launcher. Why? Well, I noticed that sometimes the launcher was hogging a bunch of resources, even when I wasn’t actively using it. I figured disabling hardware acceleration might help, and it kinda did, so I wanted to share my steps.
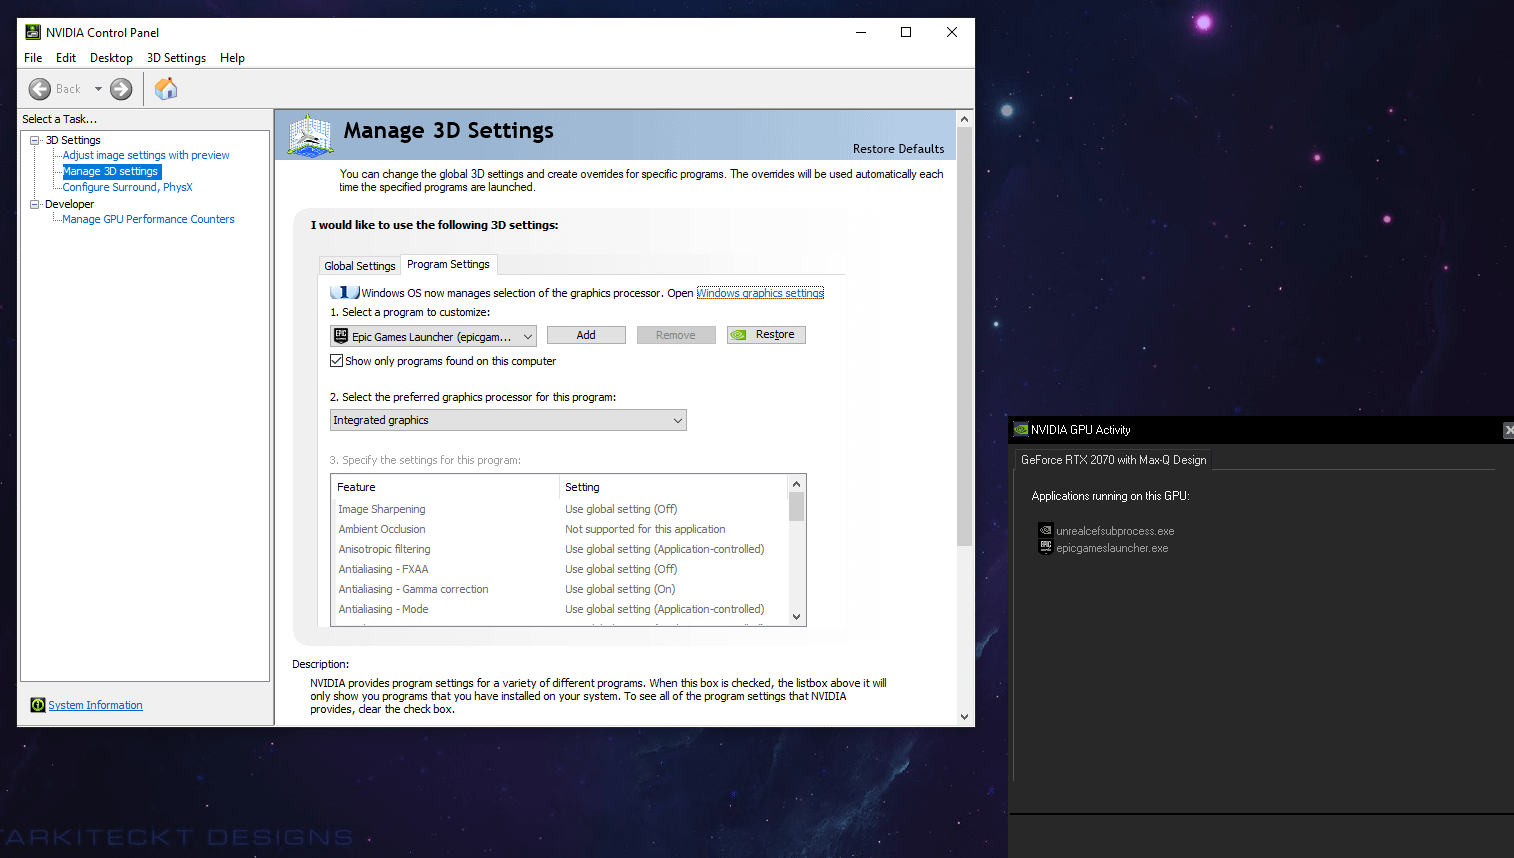
First, I tried the obvious thing. I opened up the Epic Games Launcher and went into the settings. I was looking for a toggle or a checkbox that said “hardware acceleration” or something similar. I checked and unchecked boxes for options like “run when computer starts” but I didn’t find it. It is not a common option provided to users directly like other applications.
Then I did some digging online. I was looking for people who had similar problems and how they solved them. But a lot of the information was too much to understand for me or was specifically for other systems like Windows 11, not quite what I needed.
So I thought, why not just mess with the application files directly? I navigated to where the Epic Games Launcher was installed. On my computer, it was under C:Program FilesEpic GamesEpicGamesLauncher. Most of us probably have it in the same place, unless you changed the installation directory during setup.
- I went into the Binaries folder, and then Win64.
- There were a bunch of .exe files in there. I right-clicked on each of them, one by one, and selected Properties.
- Then I clicked on the Compatibility tab.
- Finally, I checked the box that says Disable fullscreen optimizations.
- I hit Apply and OK for each .exe file.
After doing all that, I noticed the launcher was behaving a bit better. It wasn’t eating up as much CPU or GPU, especially when it was minimized. Success! It’s not a perfect solution, but it definitely made a difference on my machine.
I tried different things that I saw on the internet. I’m not sure if that’s the “official” way to do it, but it worked for me. Maybe there’s an easier method, but hey, this is what I found, and I thought I’d share it in case anyone else is having the same issue. If you’re a bit tech-savvy and not afraid to poke around in your program files, give it a shot!